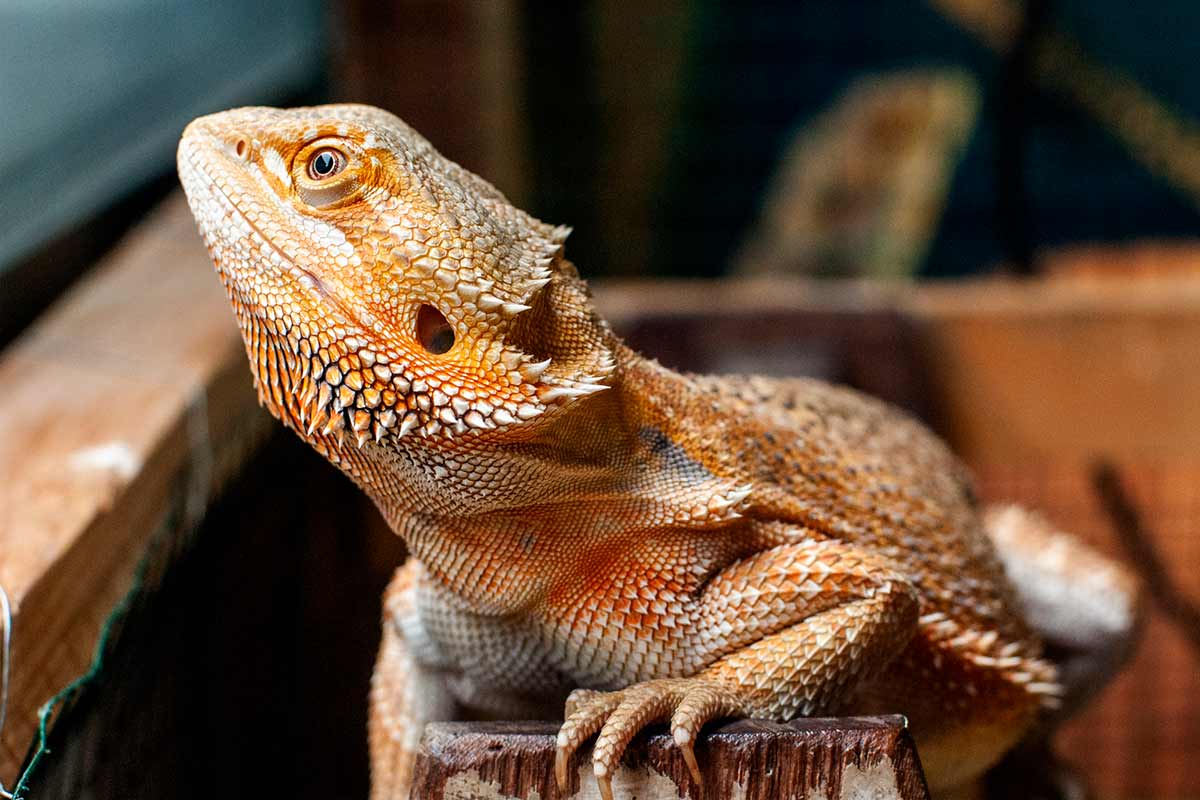
If you have ever shopped around for a terrarium for your bearded dragon, you’ve probably noticed that it can be expensive, and even finding good options to comfortably accommodate your beardie can be challenging. So, what’s the solution? Making your own DIY bearded dragon enclosure, of course!
Making your own enclosure is actually easier than it looks! It’s a project that will take some time and commitment, especially if you are new to DIY, but it does mean you can make a terrarium that fits perfectly in the space you have in your home while maximizing the space for your beardie.
Depending on the material you choose, you can make your own 120-gallon terrarium for less than $100. This also allows you to create something that you and your reptile will love.
Read on for the main steps in the process, plus links to helpful instructional videos.
How Big Should I Build My Terrarium?
The first thing to consider is how big you will build your terrarium, which will dictate the materials you need.
Full-size bearded dragons need a tank that is at least 120 gallons. Most commercial terrariums that you can buy at this size measure 48 inches on the long side, 24 inches deep, and 25 inches high. When making your own terrarium, you can go larger or taller, but this is the minimum footprint you want to achieve.
Baby bearded dragons can live in smaller tanks, but you probably don’t want to build a smaller tank just to have to build a larger one after about six months unless you want a practice run. It’s a myth that young bearded dragons feel overwhelmed in a larger tank. Just make sure the space is not bare and that they have plenty to interact with.
Build Your Terrarium – Main Steps
What exactly you need to create your bearded dragon terrarium will depend on your approach. But consider the following to help you create your shopping list.
You will need:
- An appropriate-size wooden box to serve as the frame for your terrarium – You might build this from scratch or use an old piece of furniture that you can customize.
- Glass or acrylic pieces to insert in the doors of your terrarium to give you visibility into the space
- Ventilation, either in the form of framed doors lined with mesh or poultry fabric or ventilation holes with specialized covers
- A UVB light and temperature and humidity thermometer that will need to be connected to a power source
- Insulation board or polystyrene that you will cover in plaster to insulate the terrarium and create features, plus a terrarium lining pad
- Various items to include in the tank such as plants, a water bowl, logs for your beardie to hide in and so forth
- Tools and supplies to complete the job such as a drill, box cutter, table saw, screws, glue, and paint – Make sure, when choosing glues and paints, to choose products that are safe for reptiles.
You can create a more specific shopping list for your terrarium once you decide what approach to take to your build.
Getting a bearded dragon? Here is a list of other things you will need.
Step One: Make Your Terrarium Frame
When I say terrarium frame, I basically mean the box that will serve as your terrarium. You have lots of options. You can build your own rectangular terrarium out of wood—it just needs to be open on the front side. This is perfect if you want to get your terrarium into an unusual space or you want to fill an available space precisely, to give your beardie as much space as possible.
DIY handyman Tiny Boat Nation built his own terrarium box from scratch using a few pieces of affordable wood from the local hardware store. You can follow his video for detailed instructions.
But there is a much easier option!
Do you have an old dresser, vanity, or small cupboard? This works extremely well. You don’t even have to figure out how to attach the doors since they’re already part of the structure. You’ll probably have to cut into the wood to install some features, but this process is relatively simple. If you don’t already have something appropriate to repurpose, it’s not hard to find something suitable and affordable at a second-hand furniture store.
You’ll want to give the frame some TLC before you use it. You will likely have to cut windows into the doors of the furniture to place glass (see below), and you’ll also need to cut ventilation holes into the frame (more on that below, too), but these steps are relatively simple.
Take everything out that’s unnecessary, and then see if it needs any structural reinforcement. An old dresser made from solid wood probably won’t need much work. But if you’re using a newer piece of furniture with just a thin piece of plywood stapled to the back, you’ll want to reinforce this so there’s no chance of this piece separating and your beardie sneaking through or cutting itself on a rogue staple.
You’ll also want to sand down the surfaces to avoid both you and your beardie getting splinters, and you might want to paint the box using non-toxic, water-resistant paint.
Step Two: Provide Insulation
The wooden frame of your terrarium won’t make a very homey surface for your beardie, and it will also not trap heat and maintain an appropriate temperature in your terrarium. The basking area of your terrarium needs to be heated to around 90 to 93 degrees Fahrenheit during the day. Therefore, you’ll want to line your terrarium with an insulation board.
You should line the back and sides of the terrarium with the insulation, and you can also create stairs and shelves for your bearded dragon to climb and play on.
Watch this video by Northern Exotics for insulating and molding your tank using polystyrene insulation. They get pretty creative with their decoration to create a space that looks natural.
They use marine sealant to secure the insulation in place as it is water resistant but safe for reptiles. They also use a mini blow torch to ensure that the polystyrene balls adhere to one another and don’t flake off within the enclosure and to create natural-looking unevenness on the walls.
To further protect the insulation from heat, they cover it in plaster designed for the exterior of houses, mixed with acrylic paint to achieve the desired color. Apply a thick coat to stop your beardie from digging their claws into the insulation. It might take a few days for the plaster to cure properly. They then paint this plaster to make it look like rock formations.
For another creative internal insulation and decoration idea, check out this video by Something Jack Makes.
You will not use the same material on the bottom of the tank, but rather a substrate liner cut down to size like this option. It’s slightly sticky and grippy, which is perfect for your beardie, and at the end of the process, you’ll cover this with a thin layer of natural topsoil, such as calcium sand or wood shavings.
Step Three: Consider Ventilation, Lighting, And Temperature
While your terrarium needs to be insulated to hold heat, air also needs to circulate. This means opening holes in your terrarium.
You can cut round or square holes into the walls of your terrarium near the top. Use a hot knife to cut through the insulation and create a single hole that goes all the way through. These can then be covered with air vent covers.
Another option is to cut larger openings into the top of the tank and cover them with your own DIY swinging doors that are made up of a wooden frame covered with mesh or poultry fabric. These also offer you another point of access to the space. Attach the doors with hinges and use a simple latch to ensure your beardie can’t open them.
While making ventilation holes, you can also make holes to run cables for your UVB and heat lamp and your thermometer and humidity measurer. You can often just drill small holes about the width of a pen wherever you want. The appliances usually have detachable plugs so you can pass the cable through the hole and reattach the plug on the other side.
Secure the appliances inside the tank with screws, and make sure you pin the cables to the wall inside so they don’t create a hazard.
Step Four: Install Glass Or Acrylic Doors
This is probably one of the more complex steps in the process, as it involves adding the acrylic sheet or glass to the doors that will open at the front of the terrarium. You might be cutting windows for the glass or acrylic into existing doors if you’re repurposing a piece of furniture, or you might need to build and mount doors if you’re building your own terrarium from scratch.
Watch Tony Bo Nation’s video for detailed instructions on how he created the glass doors for his terrarium. The instructions are applicable to both approaches.
Before you get started, measure exactly what size glass or acrylic you need. Most larger hardware stores will be able to sell you pieces cut to the right size, and you can order acrylic sheets in various sizes from Amazon.
Step Five: Final Assembly
At this point, you are pretty much done, and it’s just a matter of putting together your final habitat like you would with a store-bought terrarium.
Install your lights and thermometer, and figure out how to heat your terrarium to the right temperature. Also, add the water bowl and humidity tester, and see what the humidity level is and how you can raise or lower the temperature to the right setting.
Spread your chosen natural substrate over your substrate liner and add plants, hides, and other toys for your beardie. You can get creative with what you include.
Check out the creative way that Elle’s reptiles set up a terrarium for her beardie.
At this point, you’re ready to introduce your bearded dragon to the habitat and see how they like it.
Read our full bearded dragon care sheet for more information on setting up their habitat.
Make Your Beardie Comfortable
The main benefit of making your own bearded dragon terrarium, beyond saving some money, is that you can customize it.
You probably have a place in your home picked out for your bearded dragon terrarium. This could be along a wall, in an alcove, or in a space next to a specific piece of furniture. Finding a tank that can fit that area exactly can be challenging.
This usually means that you have to get a tank smaller than the available space, and your beardie ends up with less space than they would have had if their terrarium filled the gap. If you build your own, you can utilize all of that space, even if it is oddly shaped.
While we talk about 120-gallon tanks being suitable for bearded dragons, that is a minimum size, and the more space they have, the happier they will be.
- Why Do Guinea Pigs Purr? (Understanding This Behavior) - November 27, 2023
- Why Does My Cat Lick My Toes? (7 Reasons) - November 20, 2023
- Why Doesn’t My Cat Purr Anymore? Should I Be Worried? - November 13, 2023